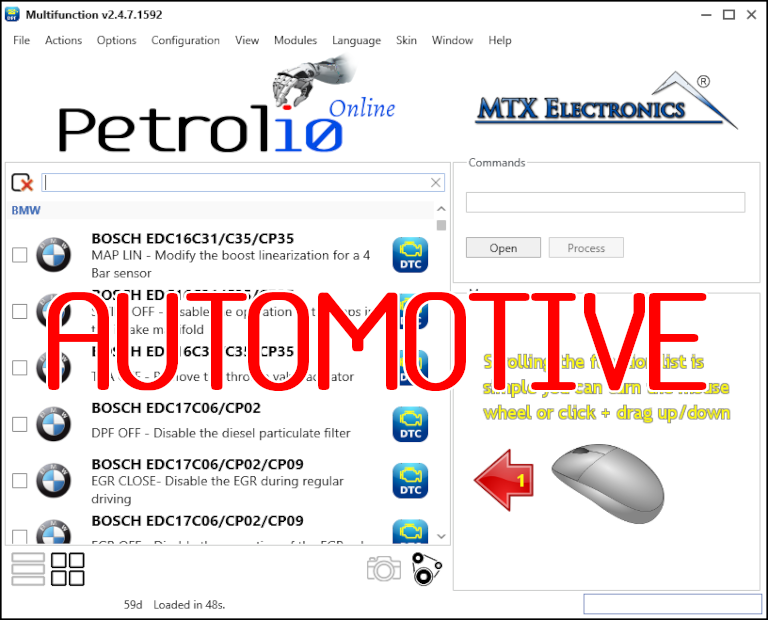
How to install the software on the computer
After downloading the software,
if you haven't done so yet you can follow the procedure described here, you can start the installation by double clicking the
Petrol10_Setup.exe file.
When the installer opens, a window will appear to select the language. Choose
English and click
OK.
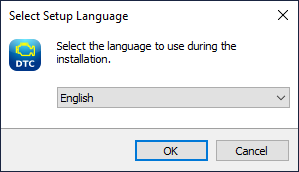 Figure 1
The next screen serves as an introduction and shows the software version to be installed. Press
Next to continue.
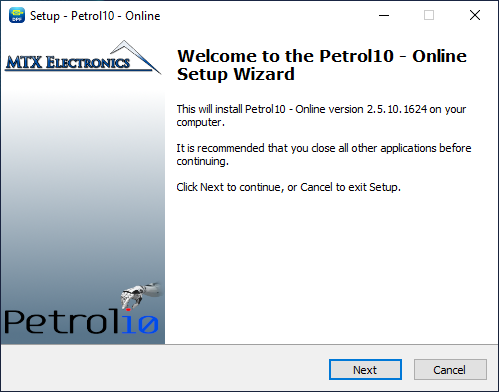 Figure 2
This step presents the license agreement for using the software.
Pay special attention to sections 2.2 and 2.3, which explicitly prohibit sharing the software via servers or using it in virtualized environments. Failure to comply will result in the program being blocked.
After reading the agreement, select
I accept the agreement and click
Next to proceed.
You can also view the license agreement in English by clicking this link, a copy will also be saved in the installation folder accessible from the Windows Start menu.
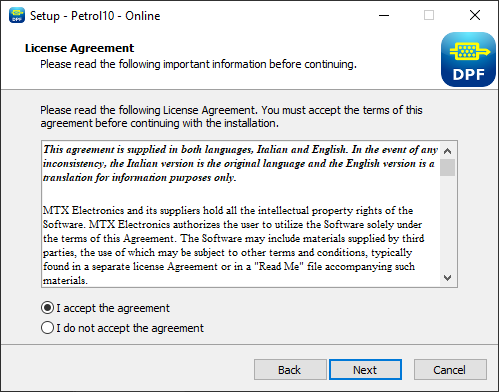 Figure 3
Next, you will see a list of components included in the installation. During the first installation all components will be selected. In case of future updates some components may not be selected if already present on the system.
It is recommended not to change the default selections. Click
Next to continue.
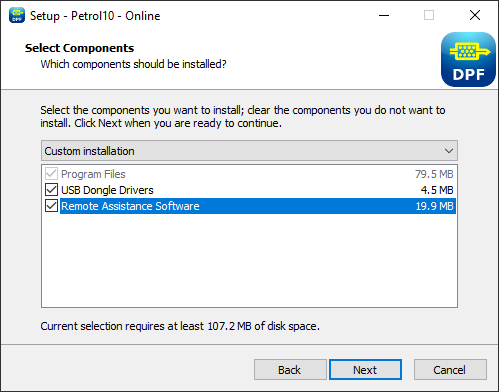 Figure 4
This screen allows you to choose whether to create a desktop shortcut. The available options are:
- Create a desktop icon
- Create a desktop icon - No Automatic Updates
The first option creates an icon that automatically checks for updates at startup. The second icon launches the software directly without any checks.
Again, it is recommended to keep the default settings. Click
Next to proceed.
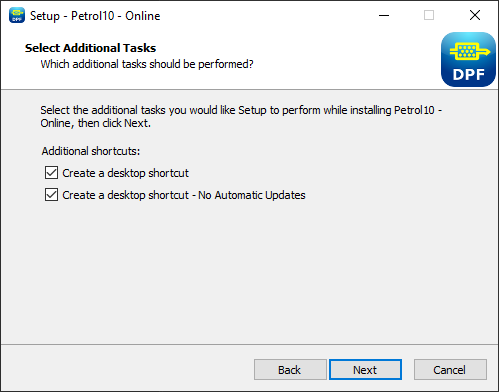 Figure 5
A summary of the selected options will now appear. Click
Install to start the installation process.
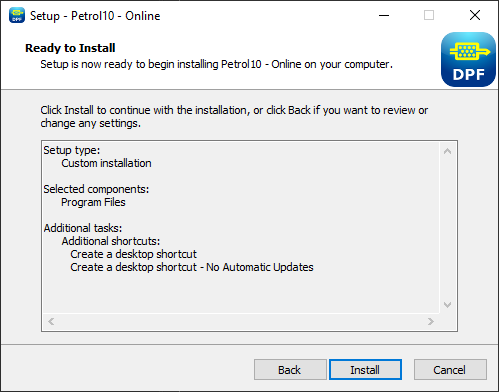 Figure 6
A progress bar will be displayed during the file copy process. Please wait until the operation is completed without intervening.
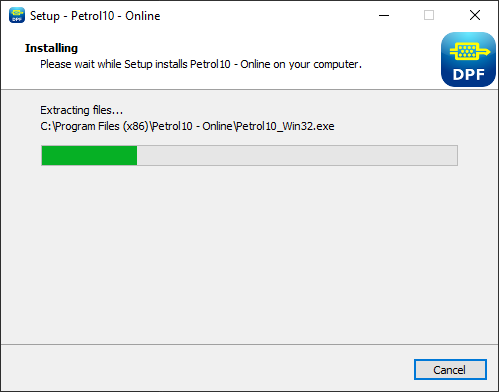 Figure 7
Once the installation is complete, the release notes will be displayed. After reviewing them click
Next.
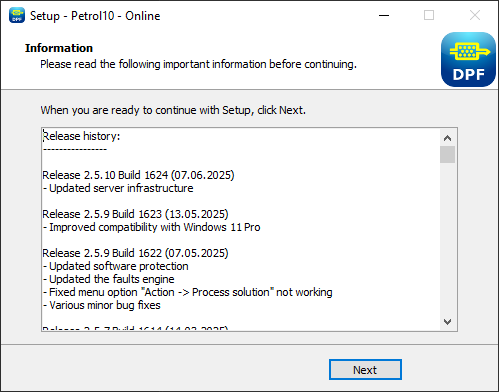 Figure 8
The following instructions are required only for the first installation of the software in order to install the USB drivers necessary for communication with the protection dongle. These steps will no longer be required for future updates. Please disconnect the USB key from the computer before proceeding.
The driver installation procedure will start with a welcome screen. Click
Next to continue.
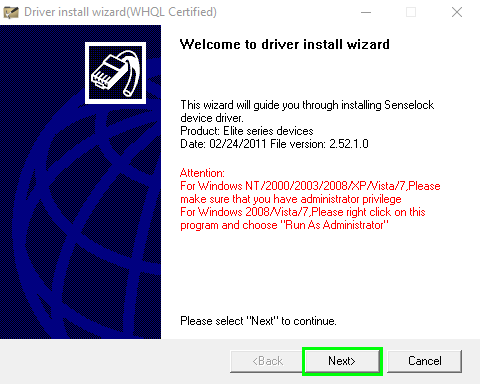 Figure 9
On the next screen, click
Next again.
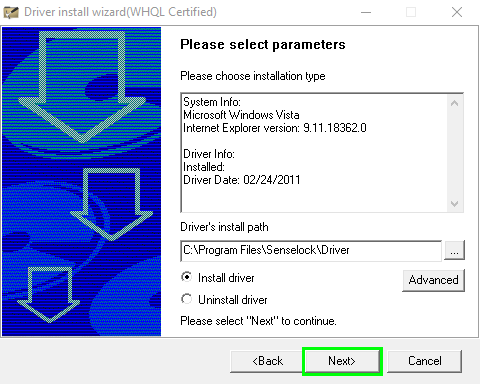 Figure 10
Once the file copying is complete the final screen will appear. Click
Finish to complete the driver installation.
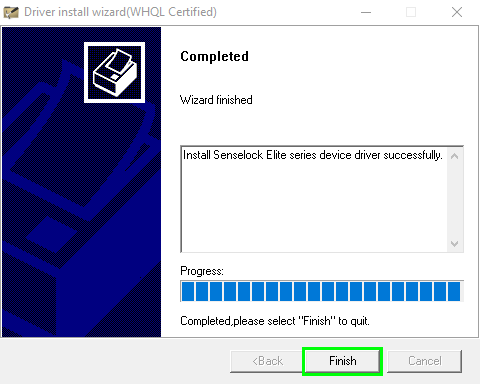 Figure 11
The installation of the
Petrol10 software is now complete. It is recommended to
restart your computer.
After restarting, connect the USB dongle. Once recognized by the operating system you can start the software by double clicking the
Petrol10 icon on the desktop.
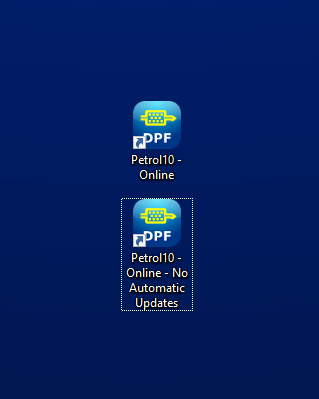 Figure 12
Enjoy using the software!


